How to Use ChatGPT for blogging?
With the increasing popularity of ChatGPT, everyone is tempted to use it to make money online. One such method to make use of ChatGPT is blogging.
Can You Use ChatGPT for Blogging?
People have tried to write articles with ChatGPT and been successful; does that mean you can just tell ChatGPT to “Write a 3000 word article on photography” and just copy and paste the content?
No, you should not generate the entire article using one command with ChatGPT, as this may result in Google penalizing you for plagiarism and causing your blog to be ranked lower in search results.
If that is the case, then how do you use ChatGPT for blogging? Follow the steps below:
Step 1: Finding Keywords
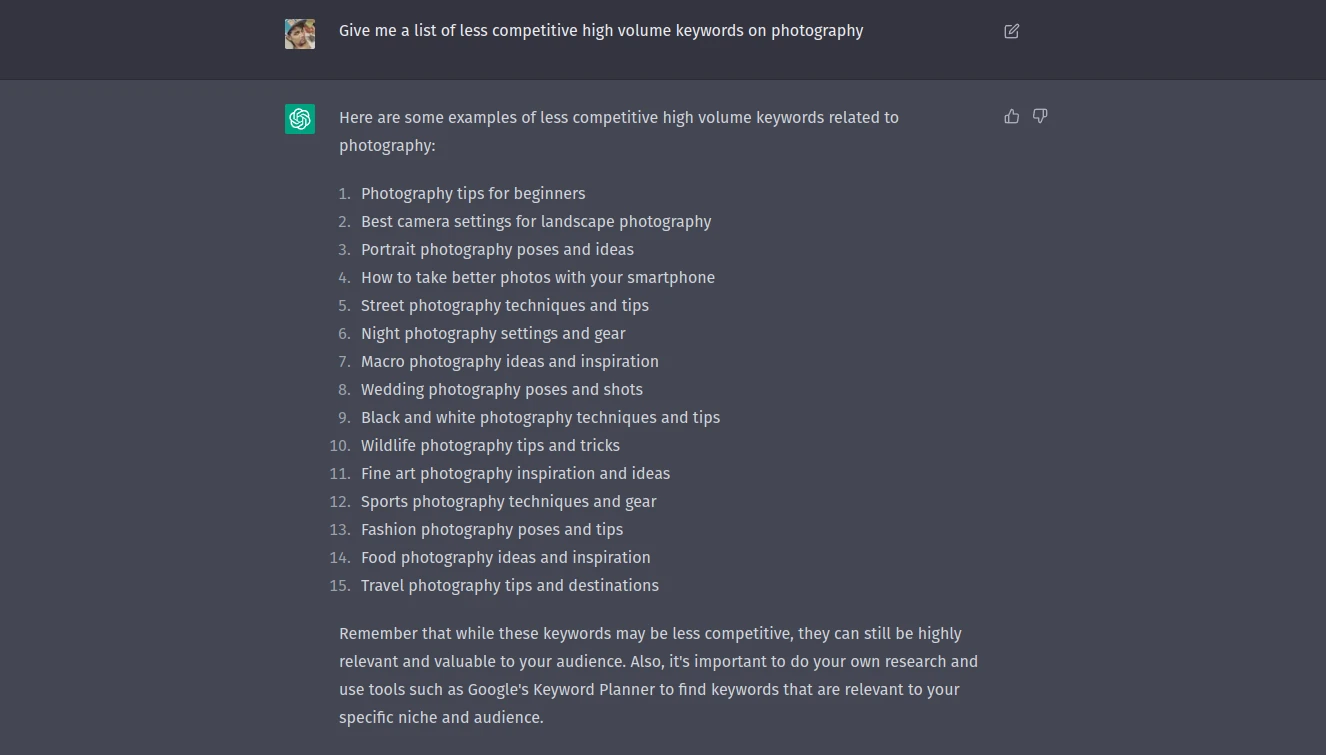
Although there are other ways to do your keyword research, if you are a beginner to blogging or simply don’t have time to do keyword research manually, you can use ChatGPT to give you a bunch of keywords by asking
Give me a list of less competitive high volume keywords on <your niche>
Step 2: Finding Blog Title for a Keyword
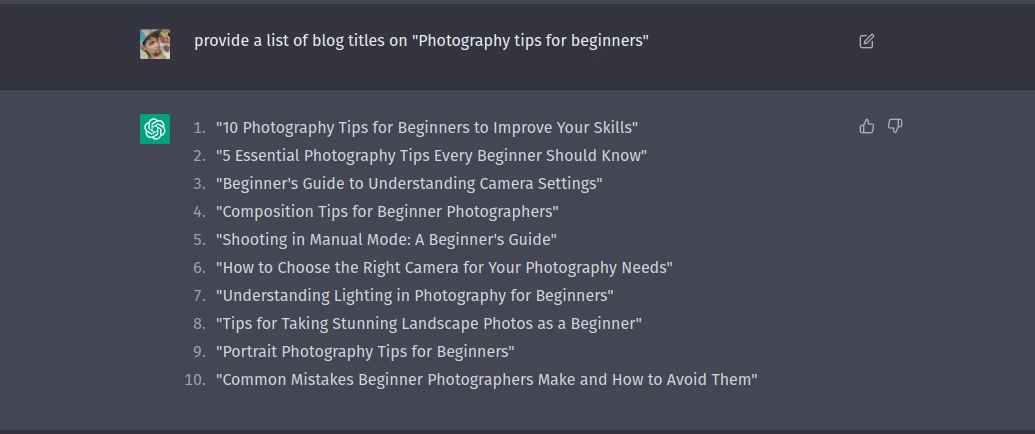
Pick a keyword from the list, and then use the following question to get a list of titles for that keyword.
Provide a list of blog titles on "<your keyword>"
Step 3: Generating a Blog Outline
Pick a title from the list, and then use the following command to get the subtopics or outline for the blog.
Provide a blog outline for the title "<your title>"
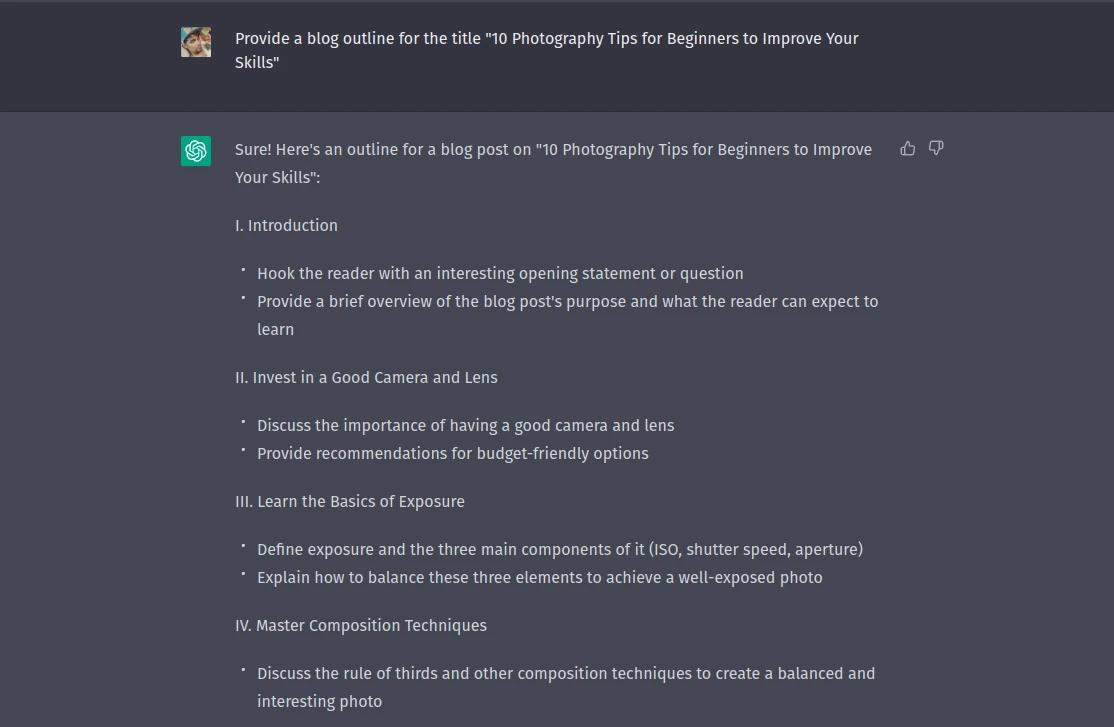
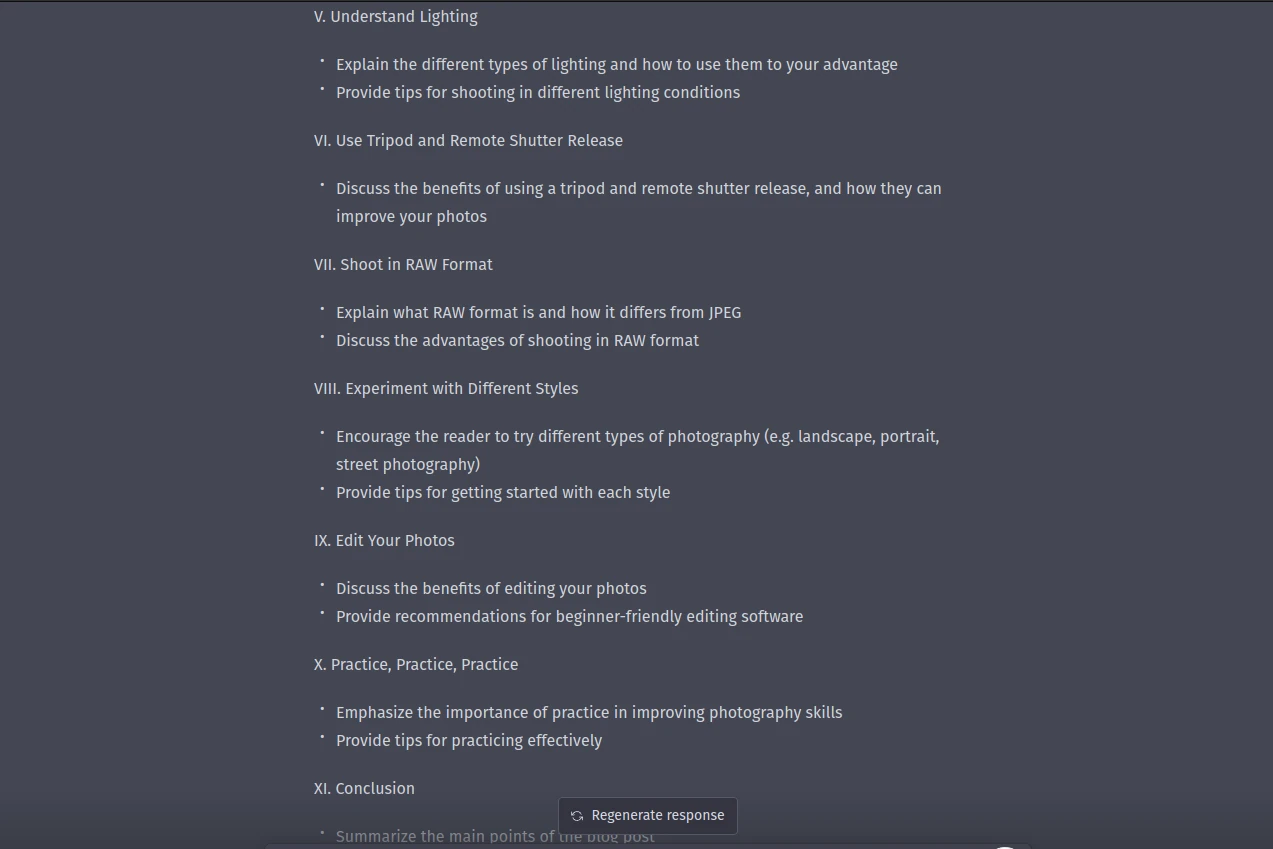
Copy the outline and paste it in Word or Notepad.
Step 4: Writing Content for Each Section
Now you have two options. You can just close the ChatGPT at this point and use the outline to write your own content, which is what we recommend and will be good in the long run, but if you are just starting and have no time, you can use the following method to generate blog content easily.
Copy the first subtopic from the outline that you generated in the previous step. By first subtopic, I mean the second one because the first one is an introduction, which you can write on your own or ask:
Write a brief introduction on "<your title>"
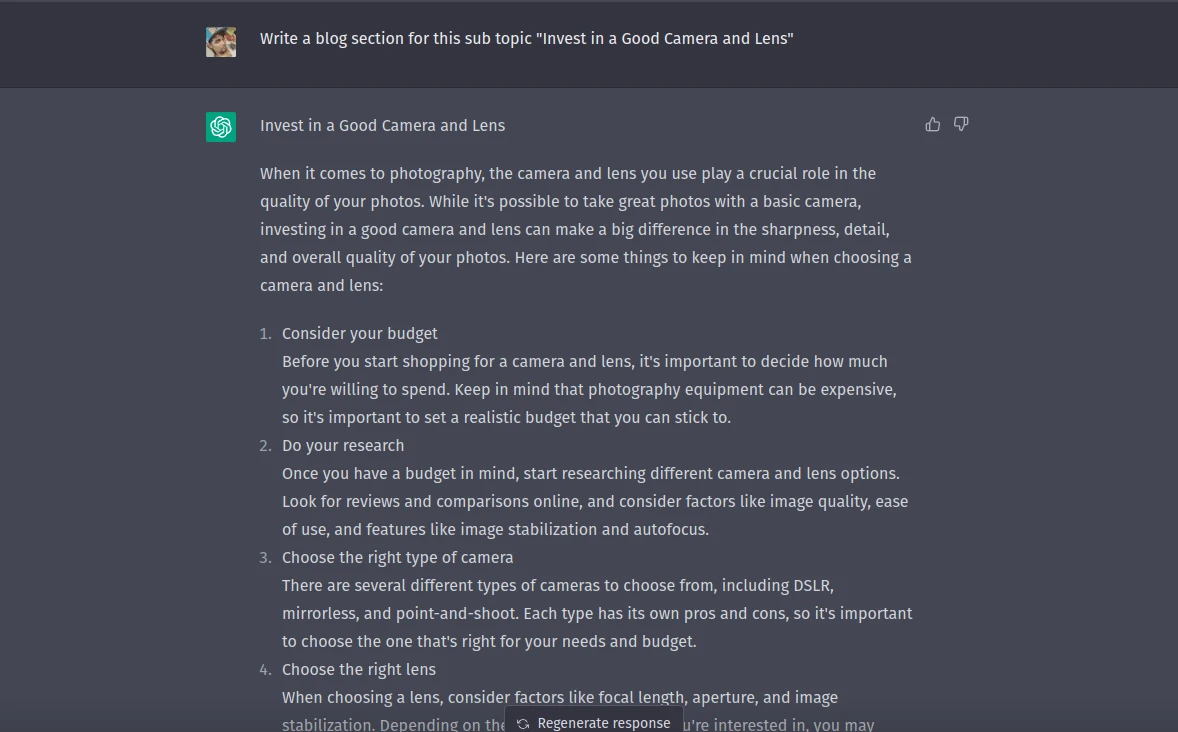
but I would recommend writing your own introduction and conclusion, so I’m going to copy the second point in the outline and ask ChatGPT this.
Write a blog section for this sub topic "<Your Sub Topic>"
Step 5: Article Rewriting
Copy the content from the previous step and use an article rewriter or paraphrasing tool to regenerate the content.
You can paraphrase the content using ChatGPT itself, but we would recommend you use other services.
There are free tools such as Pharaphraser.io and paid tools such as QuillBot; you can use the one that suits you.
You can just copy the content from ChatGPT and paste it in the article rewriter, rephrase the content, and copy it and paste it below the subtopic in your Word file.
You can repeat steps 4 and 5 for all the subtopics except the introduction and conclusion.
Step 6: Publishing
If you created the content for blog sections of all subtopics, you can just go ahead and publish, but if you generated the blog section using ChatGPT itself, you have to do a plagiarism check before publishing.
There are free plagiarism checkers such as Duplichecker and paid plagiarism checkers such as QuillBot available online; you can choose the one that suits you.
After making sure your article is not considered plagiarized using a plagiarism checker, you can go ahead and post it on your own blog or on other platforms such as Medium.
If you find this article helpful, share it with your friends.
